 hello@simplestay.io


 English
 Dutch
Dutch
 Español
Start from the calendar
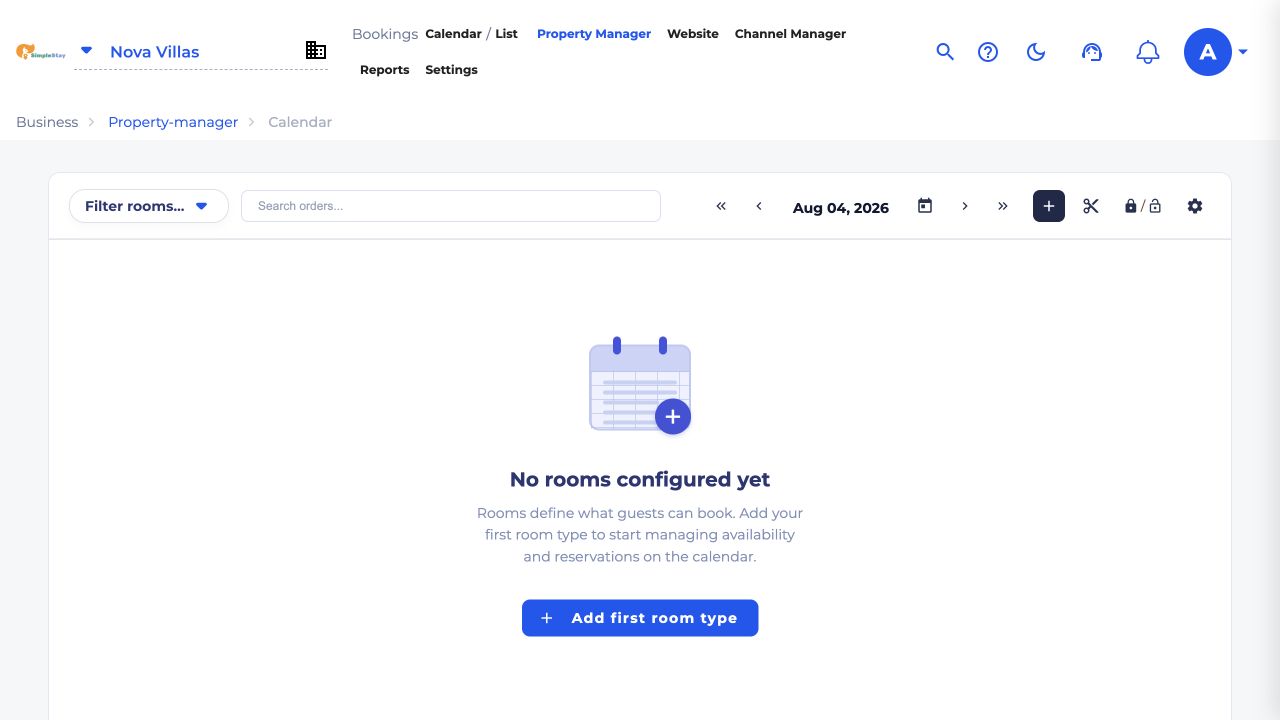
After you log in, SimpleStay opens on the calendar page. Make sure the correct property is selected in the top-left corner. In this walkthrough, the selected property is Nova Villas.
On a brand-new account you will see No rooms configured yet. Click + Add first room type to open the room setup form.

Enter the public room title
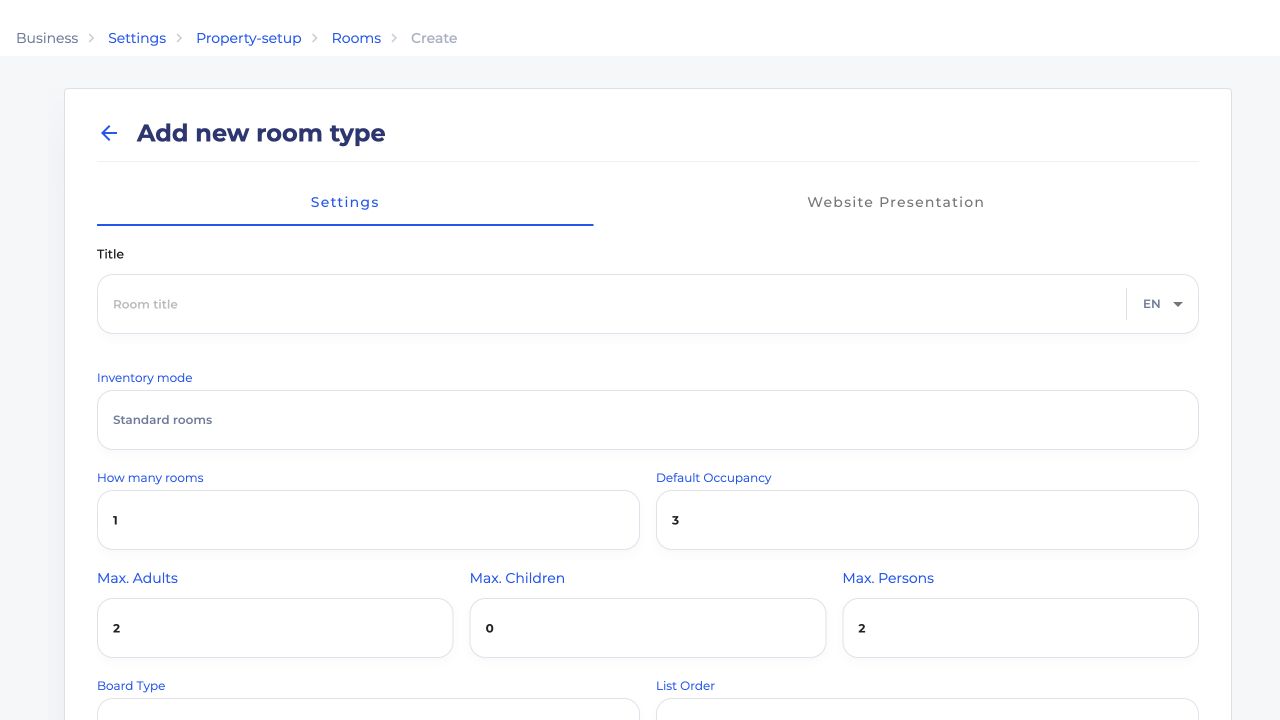
You will land on Add new room type. The form has two tabs: Settings and Website Presentation. Start on Settings and enter the room title guests will recognize.
| Field | What to enter | Example |
|---|---|---|
| Title | The room name shown in SimpleStay and on your website. Use the EN selector when you need translated text later. | Deluxe Sea-View Villa |
| Inventory mode | Leave this as Standard rooms for a normal room, apartment, villa, or unit. | Standard rooms |

Set inventory and occupancy
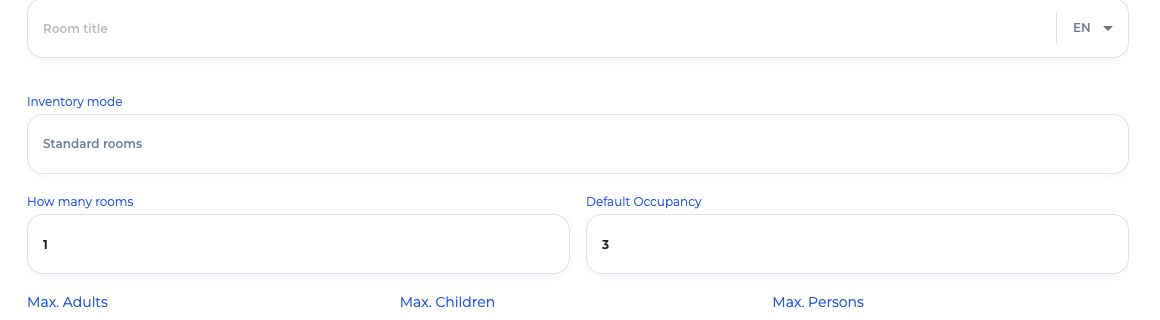
This section tells SimpleStay how many identical units you have and how many people each one can hold.
- How many rooms is the number of identical units in this room type.
- Default Occupancy is the typical number of guests.
- Max. Adults, Max. Children, and Max. Persons are the booking limits SimpleStay enforces.
Review board type, order, and paid extras
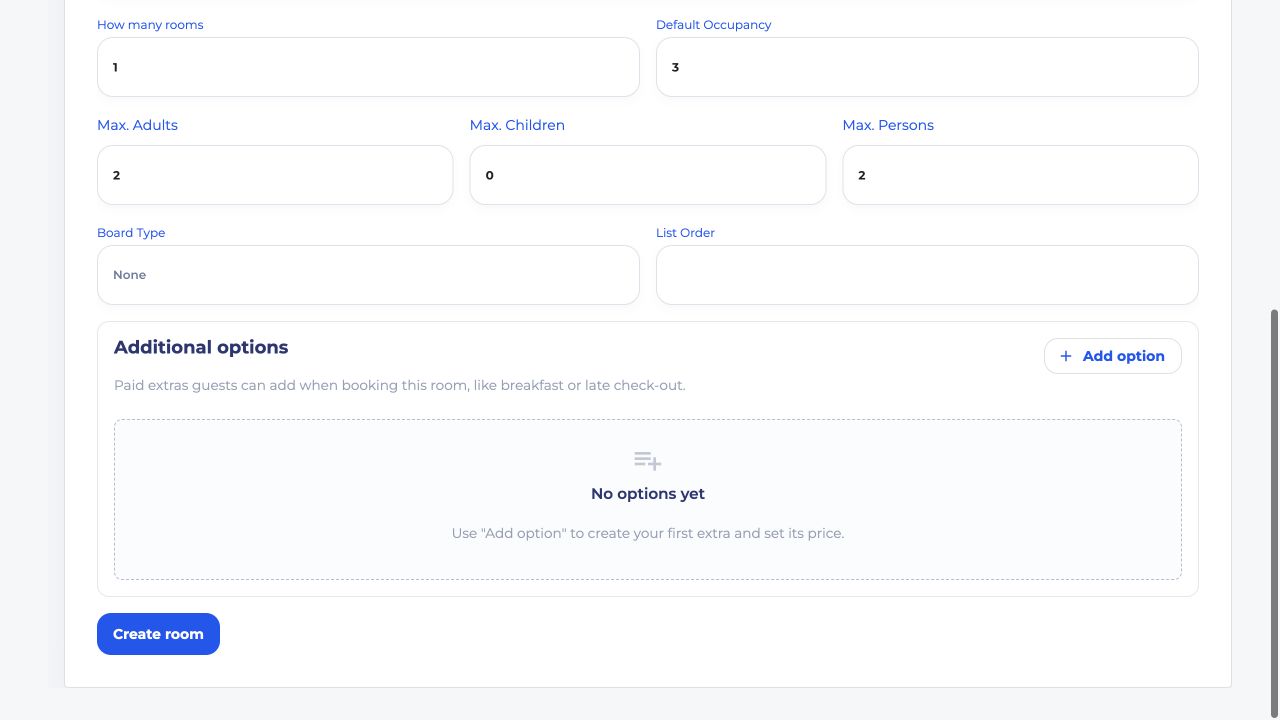
Scroll down to finish the Settings tab. These fields are not usually required for a first room, but they help you organize the room and offer extras later.
- Board Type is the meal plan, if any. Leave it as None for self-catering rentals.
- List Order controls how this room type is ordered when you have multiple rooms.
- Additional options are paid extras guests can add while booking, such as breakfast or late check-out.
Add the website description
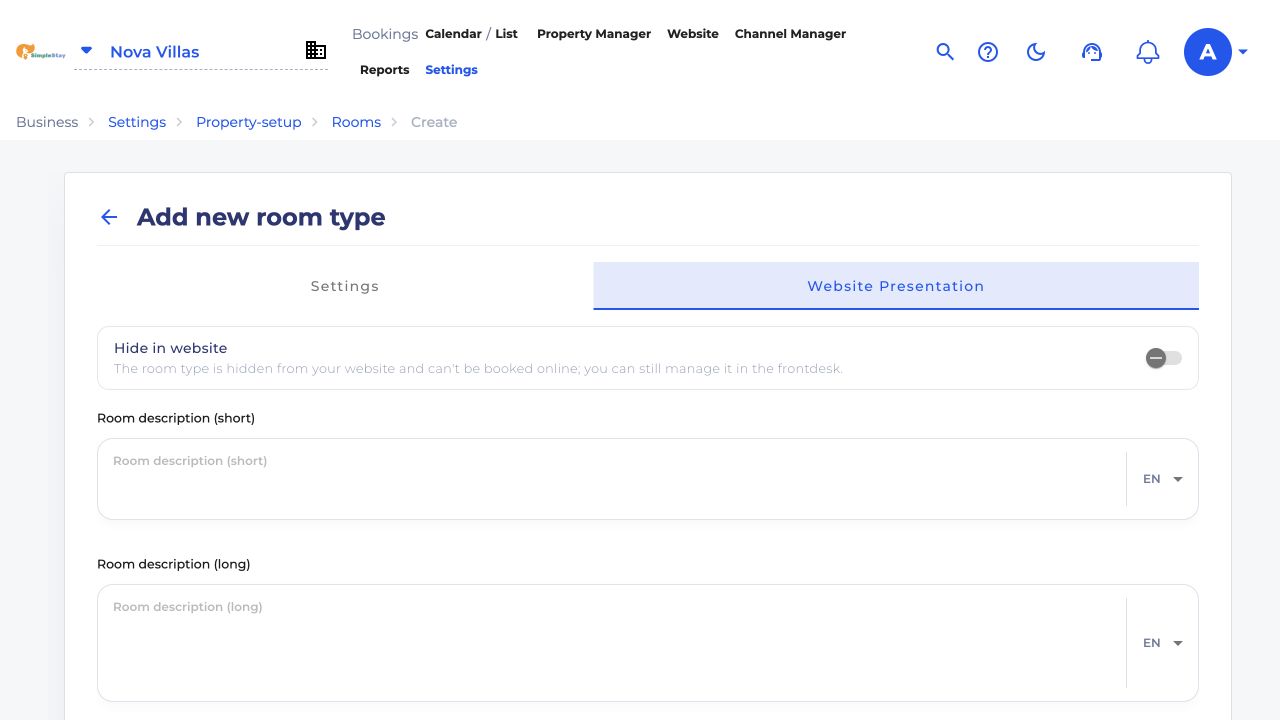
Open the Website Presentation tab when you are ready to make the room look good on your public website. Use this area for guest-facing copy.
- Hide in website should be turned on only if the room should stay private or be managed in the frontdesk only.
- Room description (short) is a quick summary, usually one sentence.
- Room description (long) is the full room description for guests.
Add tags and upload media
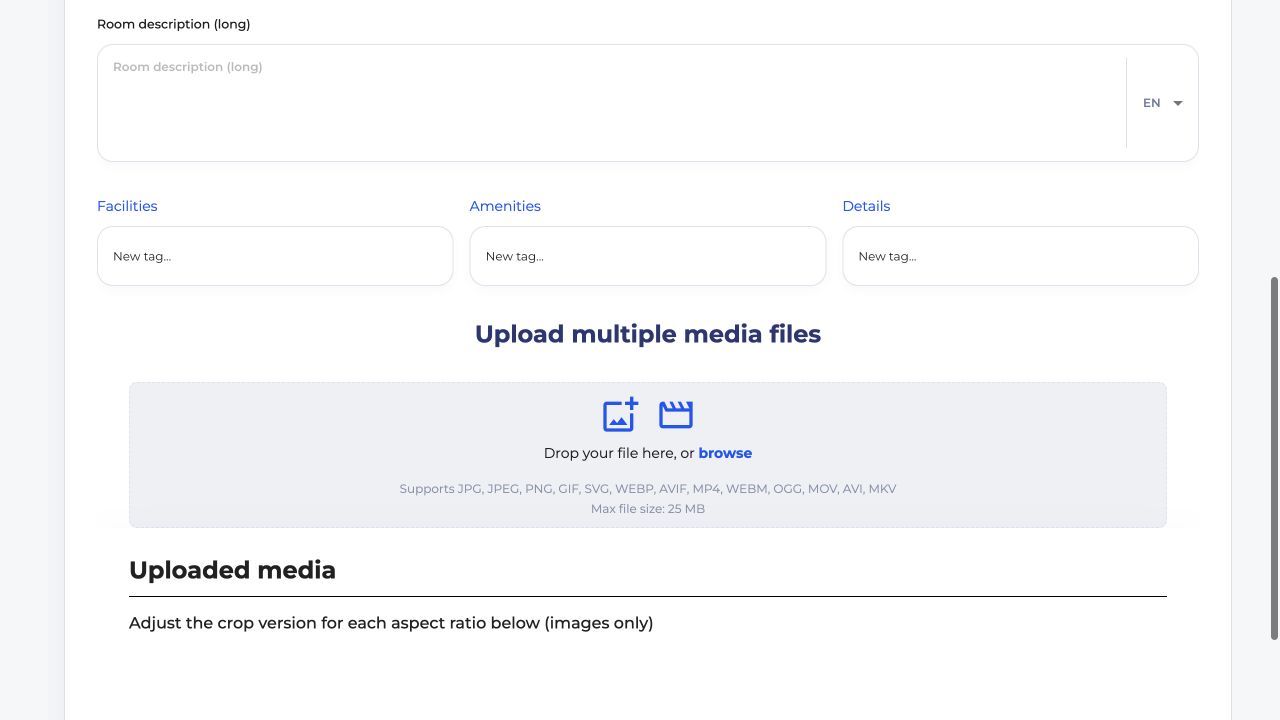
Lower on the Website Presentation tab, you can add facilities, amenities, details, and media files. Type a tag and press enter to add items such as Wi-Fi, Pool, or Air conditioning.
For media, drag files into the upload area or click browse. SimpleStay supports common image and video formats, with a maximum file size of 25 MB.

Create the room
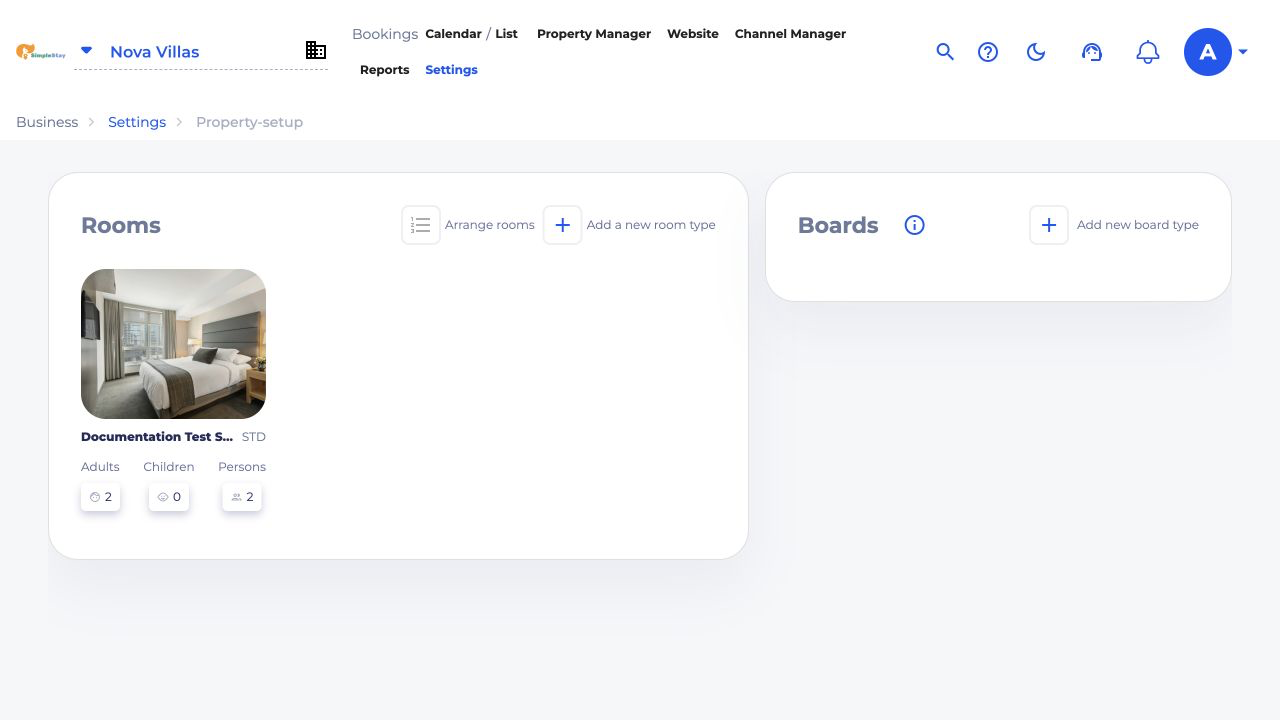
When the required fields are ready, click Create room. SimpleStay returns you to Property Setup and shows the new room card in the Rooms section.
Check the calendar row
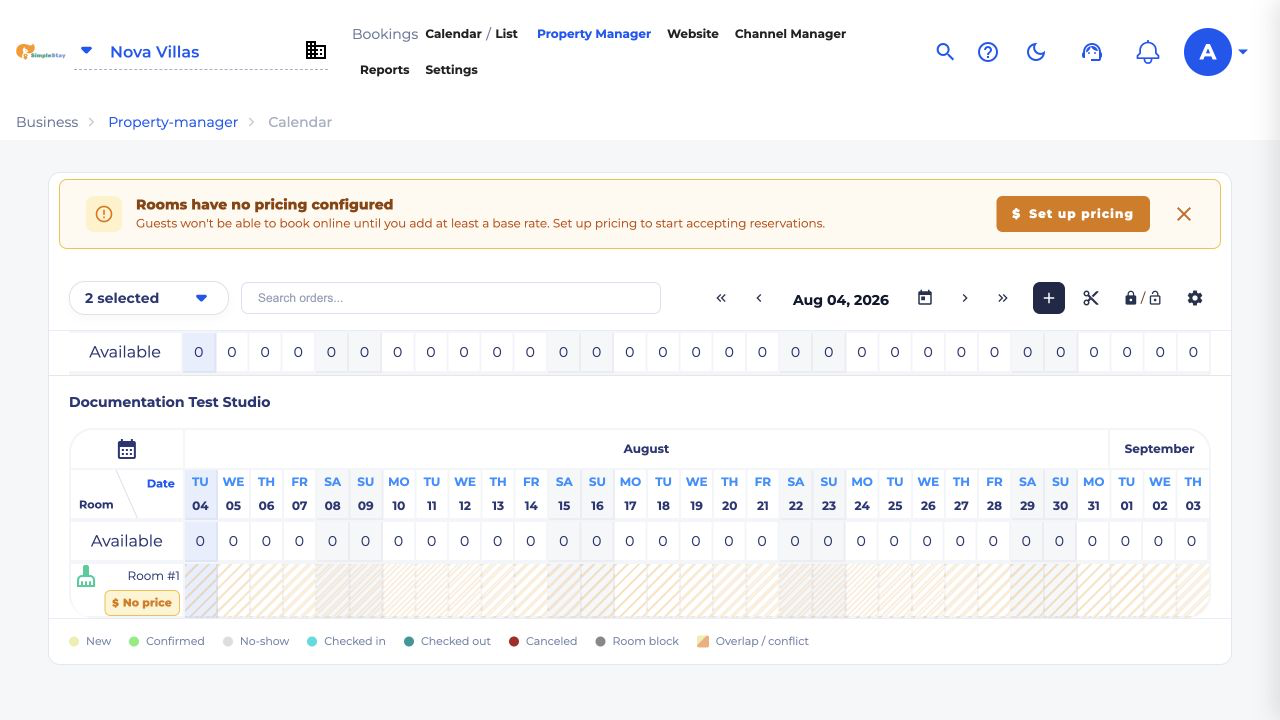
Go back to Property Manager and open the calendar again. Your room type now appears as a row, so you can manage availability, reservations, and blocks.
Frequently asked questions
Do I need to create a room type before accepting bookings?
Yes. A room type gives SimpleStay the inventory, occupancy, descriptions, and media needed before guests can book online.
Can one room type represent several identical rooms?
Yes. If several rooms or units are identical, create one room type and set the number of rooms in the inventory field.
Should I upload room photos during the first setup?
Yes. Photos make the room card and booking page easier to trust, and they help guests understand what they are booking.
What to do next